Protect Excel Sheet with Password: Hello guys, Today we'll discuss that how to Protect Excel Sheet with Password. As We all know that we save all the business data or some important data in excel sheet so it is very important to save excel sheets to prevent other users from viewing, editing, deleting worksheet or any other unauthorized access. You can protect the structure of excel sheet with a password. You should never store sensitive information in an excel spreadsheet without a password. The latest version of MS Excel also provide some more encryption techniques to the more secure spreadsheet.
Protect Excel sheet with Password
We store our data in MS Excel spreadsheet because we can protect information with the password and provides the security for the users. There are mainly three ways to protect a workbook or a file as discussed below.
1. First method to Protect Excel Sheet
To protect a workbook follow some steps:
- Click on Review Tab then clicks on protect workbook.
- Enter a password in the box.
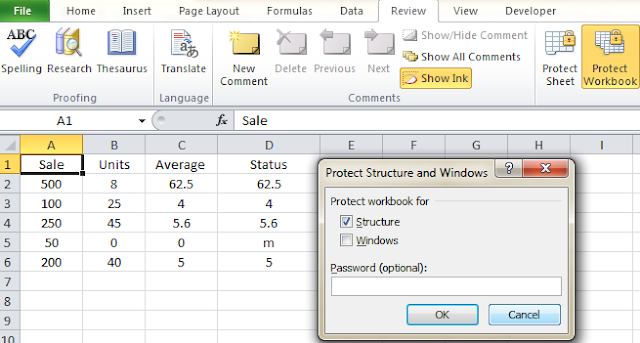
- Click OK and re-enter the password to confirm.
- Click OK.
2. Second method to Protect Excel Sheet
To protect the MS Excel sheet with password follow some steps as discussed below:
- Click on the File tab, Click Info option then click on Protect Workbook.
- Choose Encrypt with Password from the Drop-Down list.
- Enter a password in the box.
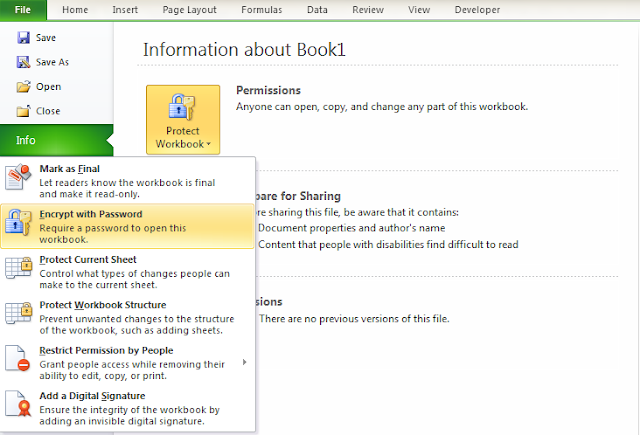
- Click OK and re-enter the Password to confirm.
- Click OK.
3. Third Way to Protect a Workbook- Set a Password to allow reading or Modifying
You can set a Password on the file in two ways-One to open the file as read-only and other to open the file to modify also. Read only access does not provide any changes to a file. If a user needs to be able to modify the file, you will have to share both open and modify the password. For that follow some steps:
- Click on File tab and click on Save As option.
- Click on Browse folder if hide this option.
- In the Save As Dialog box, click Tools then click on General option.
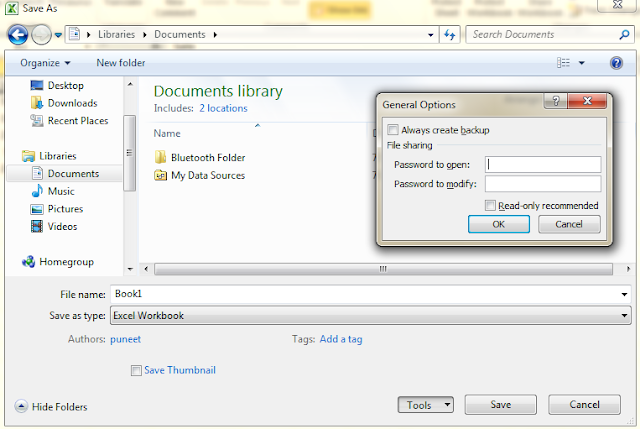
- Then type the password according to the requirement it means one password to open the file and another to modify the file.
- Click Save.
Thus if someone tries to open the file, Excel ask for a password in the first screen. After entering a password a second screen open and ask for a password for modifying the file. Users can click Read Only option if the second password is not available and start viewing the content of the file.
Conclusion:
Thus, in this post, You will find that how to Protect Excel Sheet with Password. We can save our useful information to prevent an unauthorized access. If you like this post then you can share this post with your friends, colleagues, and relatives. We'll update this post on a regular basis. You can also share this post on facebook, twitter, Google+ or other social media website. If you have any question regarding this post then you can write in the comment section. We'll revert back to you as soon as possible.
No comments:
Post a Comment