How to Insert Table in Excel: Hello Friends, Here We'll discuss how to Insert Table in Excel. We all know that Table provides us to analyze data and calculation in excel quickly and easily. Excel provides more features or Table formattings like Insert a Table, Sort the Table and Filter the Table. We can easily filter any data by using the table in excel and we can also calculate total rows and columns.It is very useful for managing the set of related data.
Create an Excel Table
You have two choices to create a table. First, you can insert an excel table in the default table style and second you can format your data as a table in a style that you choose. There are some steps to create a table as discussed below:

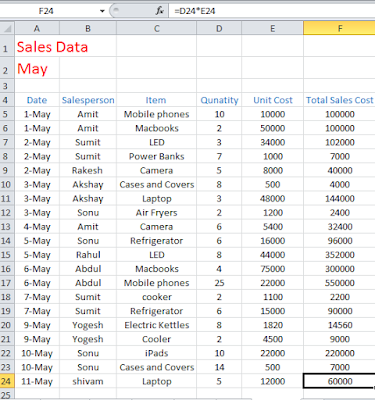
- On an excel worksheet, you have to select the range of the cells that you want to include in the table.(The cells can be empty or can contain data)
- On the Insert tab, Click the table in the Tables group.(You can also use shortcut key-CTRL+L or CTRL+T)
- Excel automatically select the data for your table or you can add the data to your table.
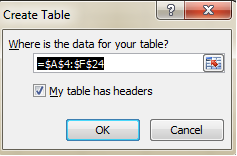
- Check "My table has headers" and click OK.
Now Excel creates a formatted table for you according to your requirement.
Sort a Table
We can sort a table according to our choice. If we want to display the data from lowest to largest or largest to lowest then we can do it very easily by this feature. For that follow some steps:
- If we want to arrange data from Smallest to Largest then click on the header of that column and then click on Sort Z to A.
- If we want to arrange data from Largest to Smallest then click on the header of that column and then click on Sort A to Z.
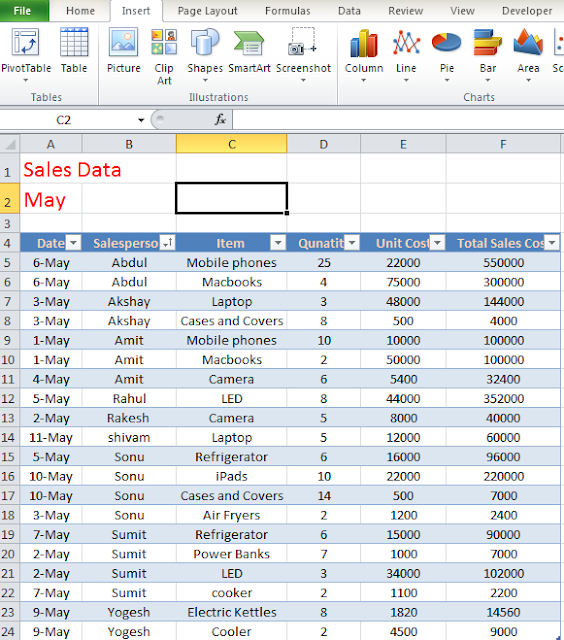
Here we sort the table according to the name of the salesperson in increasing order of the alphabet.
Filter a Table
To format a table, follow some steps :
- If we want to display any particular data out of whole data then you can apply the filter to the data.
- For that, you have to click on the header of the particular header and check the particular field according to your requirement.
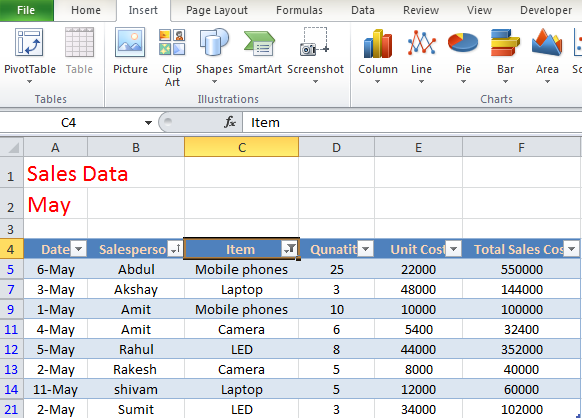
Here we apply the filter on the Item Column to view only 4 categories like mobile phones, Laptop, Camera and LED out of multiple categories. So by this features, we can apply a filter to view some data according to the requirement.
Convert a Table to a range of Data
To convert a table to a range of Data follow some steps:
- Click any cell in the table.
- On the Design tab, Click Convert to Range from the Tools group.

- Now this features to convert the table into a normal range of cells means all of the data is preserved.
Conclusion:
Thus, in this post, we focus on how to Insert Table in Excel. Manage the data in the tabular form is the better way for analysis the data and easily access. This feature provides the relevant data according to the customer requirement or we can filter or sort the data. If this post is useful then you can share the post with your friends, colleagues, and relatives. We'll update this post on the regular basis. You can also share this post on facebook, twitter, Google+ or other social media website. If you have any query regarding this post then you can write in the comment section. We'll revert back to you as soon as possible.
No comments:
Post a Comment